一、配置 Google API
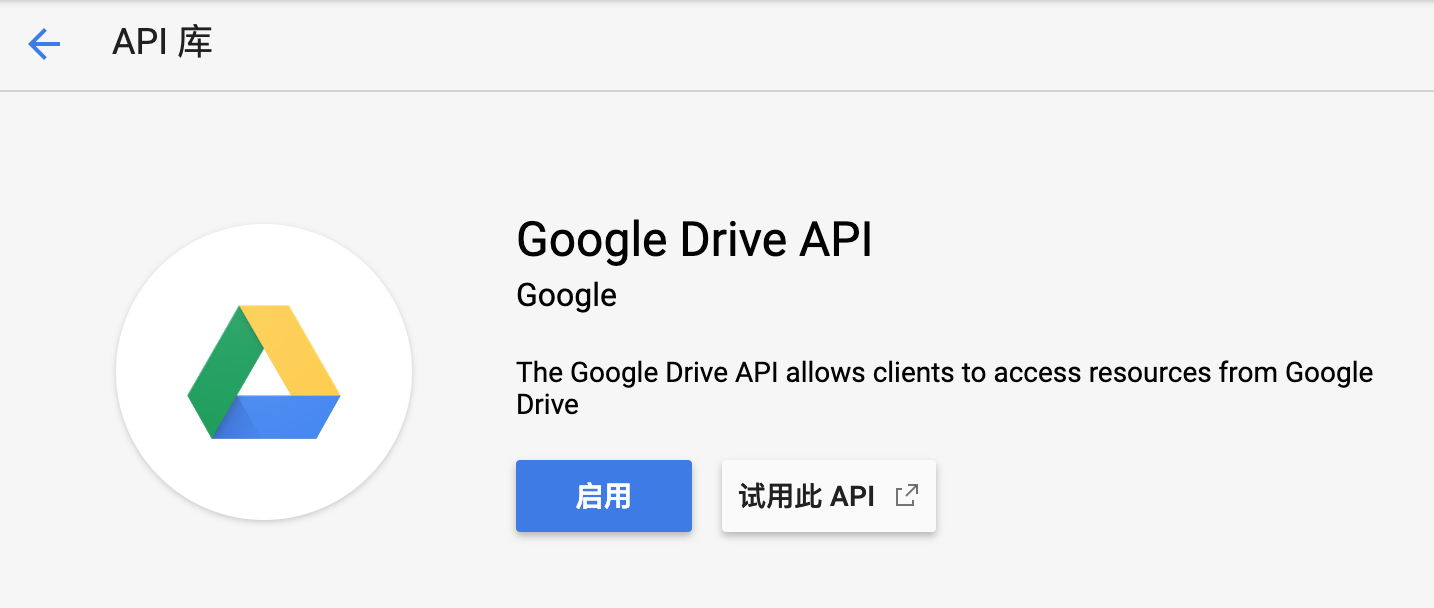
- 启用Google API。
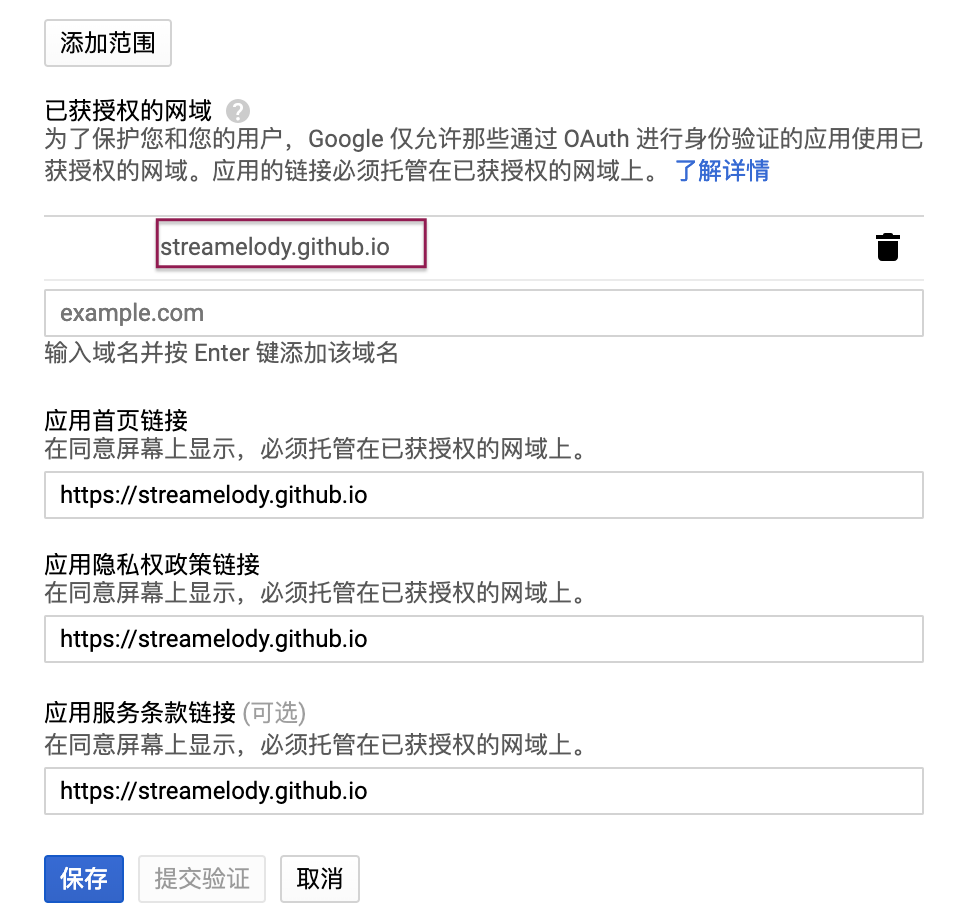
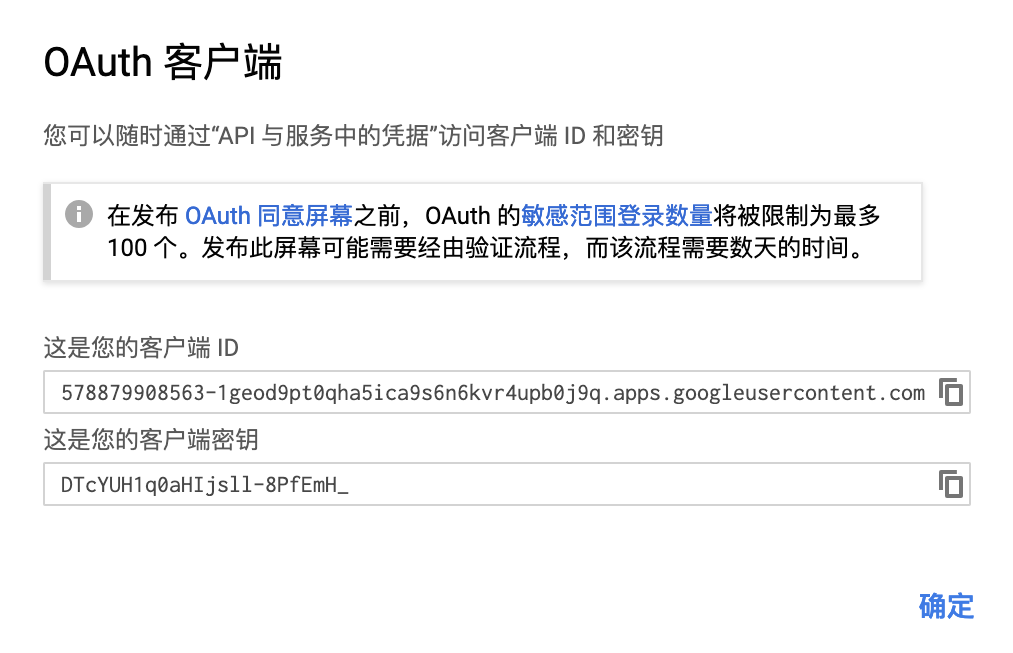
- 再创建一个OAuth 客户端 ID,然后配置
OAuth同意屏幕。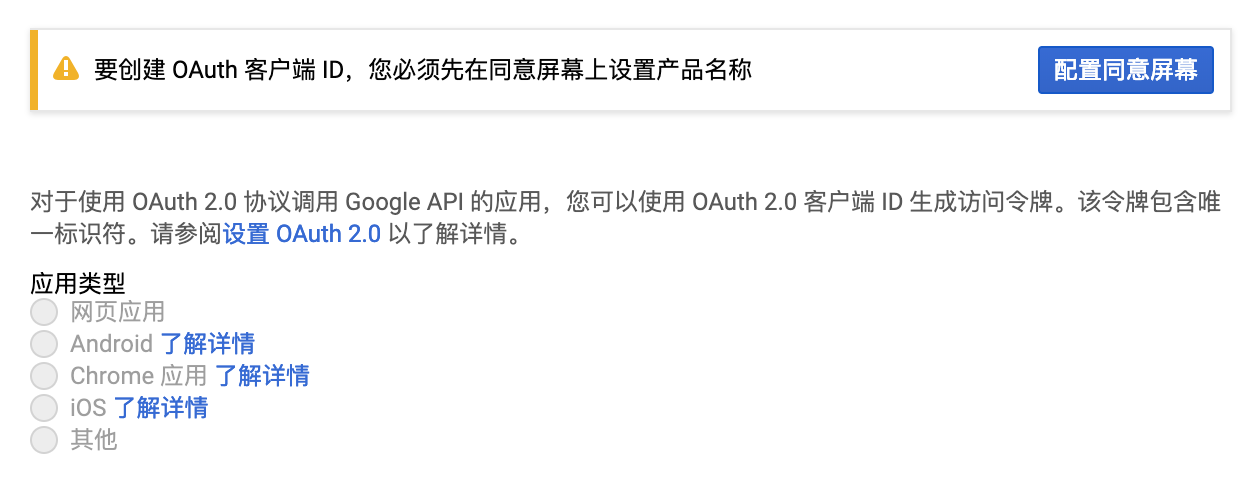
- 应用类型选择
其他(Other),名称自己填。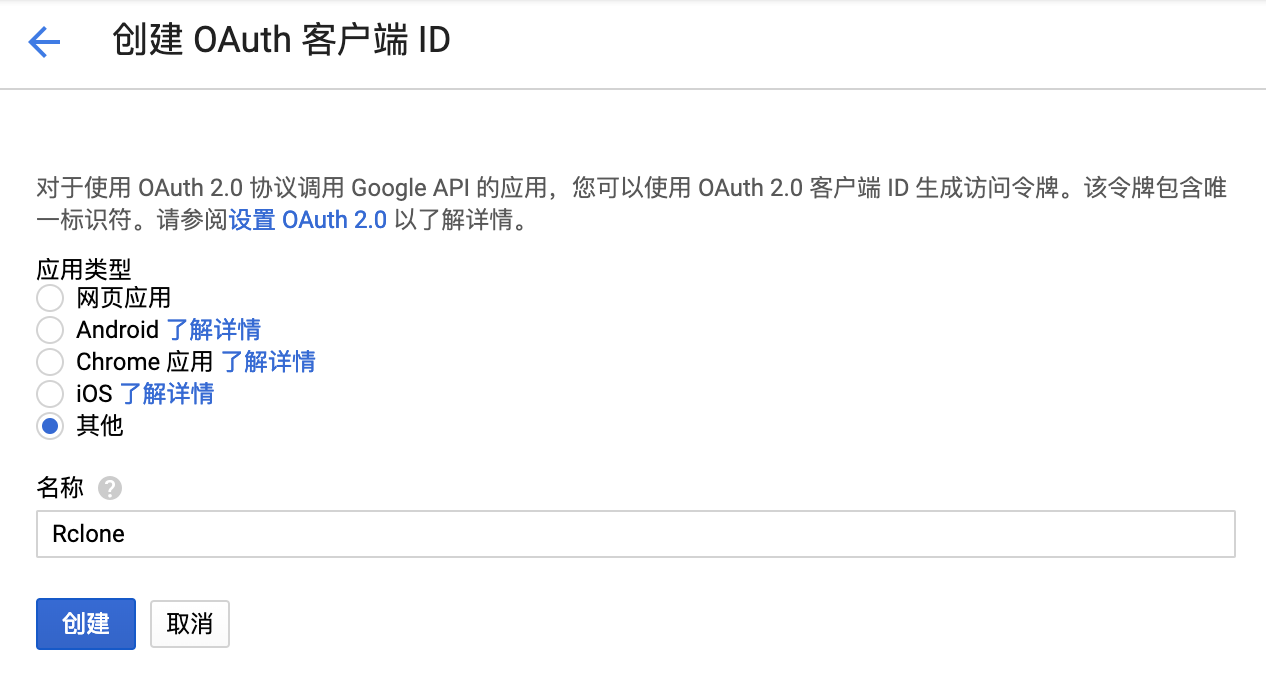
- 记录获取的
客户端 ID和客户端密钥。
1 | |
二、安装并配置 Rclone
- GCP 使用
Ubuntu 16.04 LTS,安装 rclone。
1 | |
- 初始化配置。
1 | |
- 第一步选择
n,然后回车输入一个名字Rclone。
1 | |
- 选择挂载的类型。
12 / Google Drive
   \ "drive"
13 / Hubic
   \ "hubic"
Storage> 12
- 输入上一步申请的
客户端 id和客户端密钥。
Google Application Client Id
Leave blank normally.
Enter a string value. Press Enter for the default ("").
client_id>
Google Application Client Secret
Leave blank normally.
Enter a string value. Press Enter for the default ("").
client_secret>
- 回车默认,直到
Use auto config?,选择n。
Use auto config?
* Say Y if not sure
* Say N if you are working on a remote or headless machine or Y didn't work
y) Yes
n) No
y/n> n
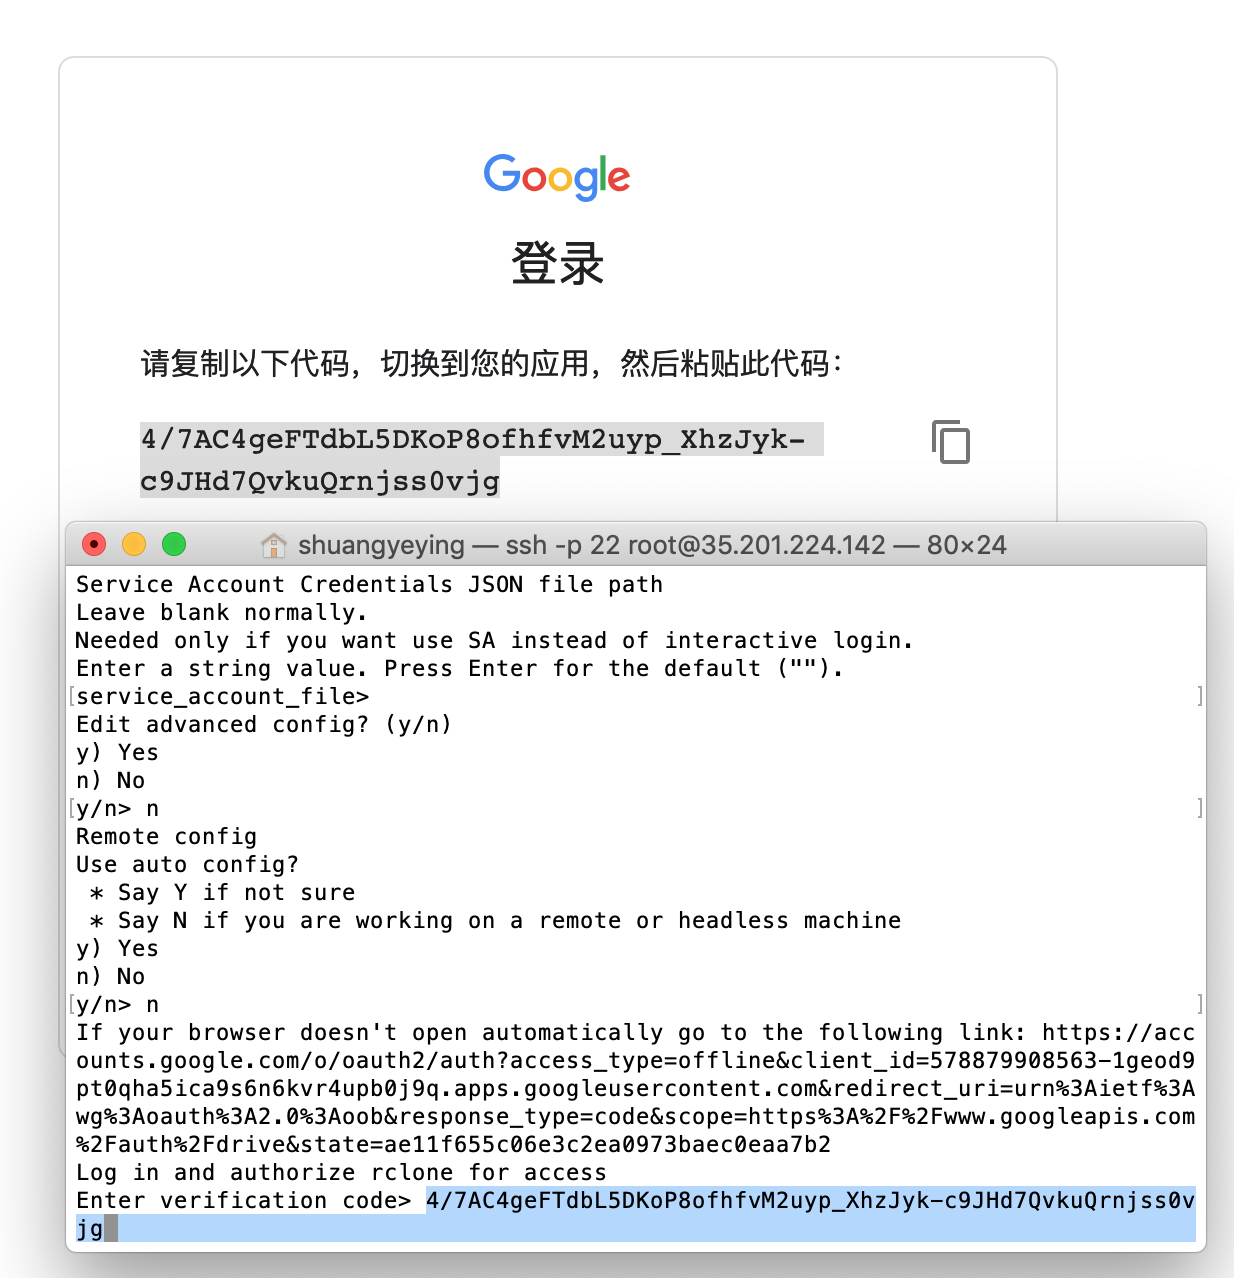
- 获得
GoogleDrive的授权登录地址,登陆并允许,回到终端输入授权码,回车。
If your browser doesn't open automatically go to the following
link: https://accounts.google.com/o/oauth2/auth?access_type=
offline&client_id=xxxxxxxxxxxxxxxxxxxxxxxxxxxxxxxxxxxxxxxxxxxxxxxxxxxxxxxxxxxx
Log in and authorize rclone for access
Enter verification code>
- 接下来默认选
n,最后选择q退出。
1 | |
三、挂载Google Drive
- 创建挂载目录。
1 | |
- 输入挂载命令。
1 | |
- 查看挂载状态。
df -Th

四、Rclone 使用命令
Rclone配置位置~/.config/rclone/rclone.conf,多台电脑通用,不需要重复配置。
1 | |
五、百度盘下载相关
1 | |
六、Aria2 离线下载搭建
1 | |