一、Clone
1 | |

二、build
- 查看 Confluence 最新版本:https://www.atlassian.com/software/confluence/download-archives
- 当前最新版 8.0.2 下载地址为:https://product-downloads.atlassian.com/software/confluence/downloads/atlassian-confluence-8.0.2.tar.gz
- EAP 版本下载:https://www.atlassian.com/software/confluence/download-eap
1 | |
三、构建镜像
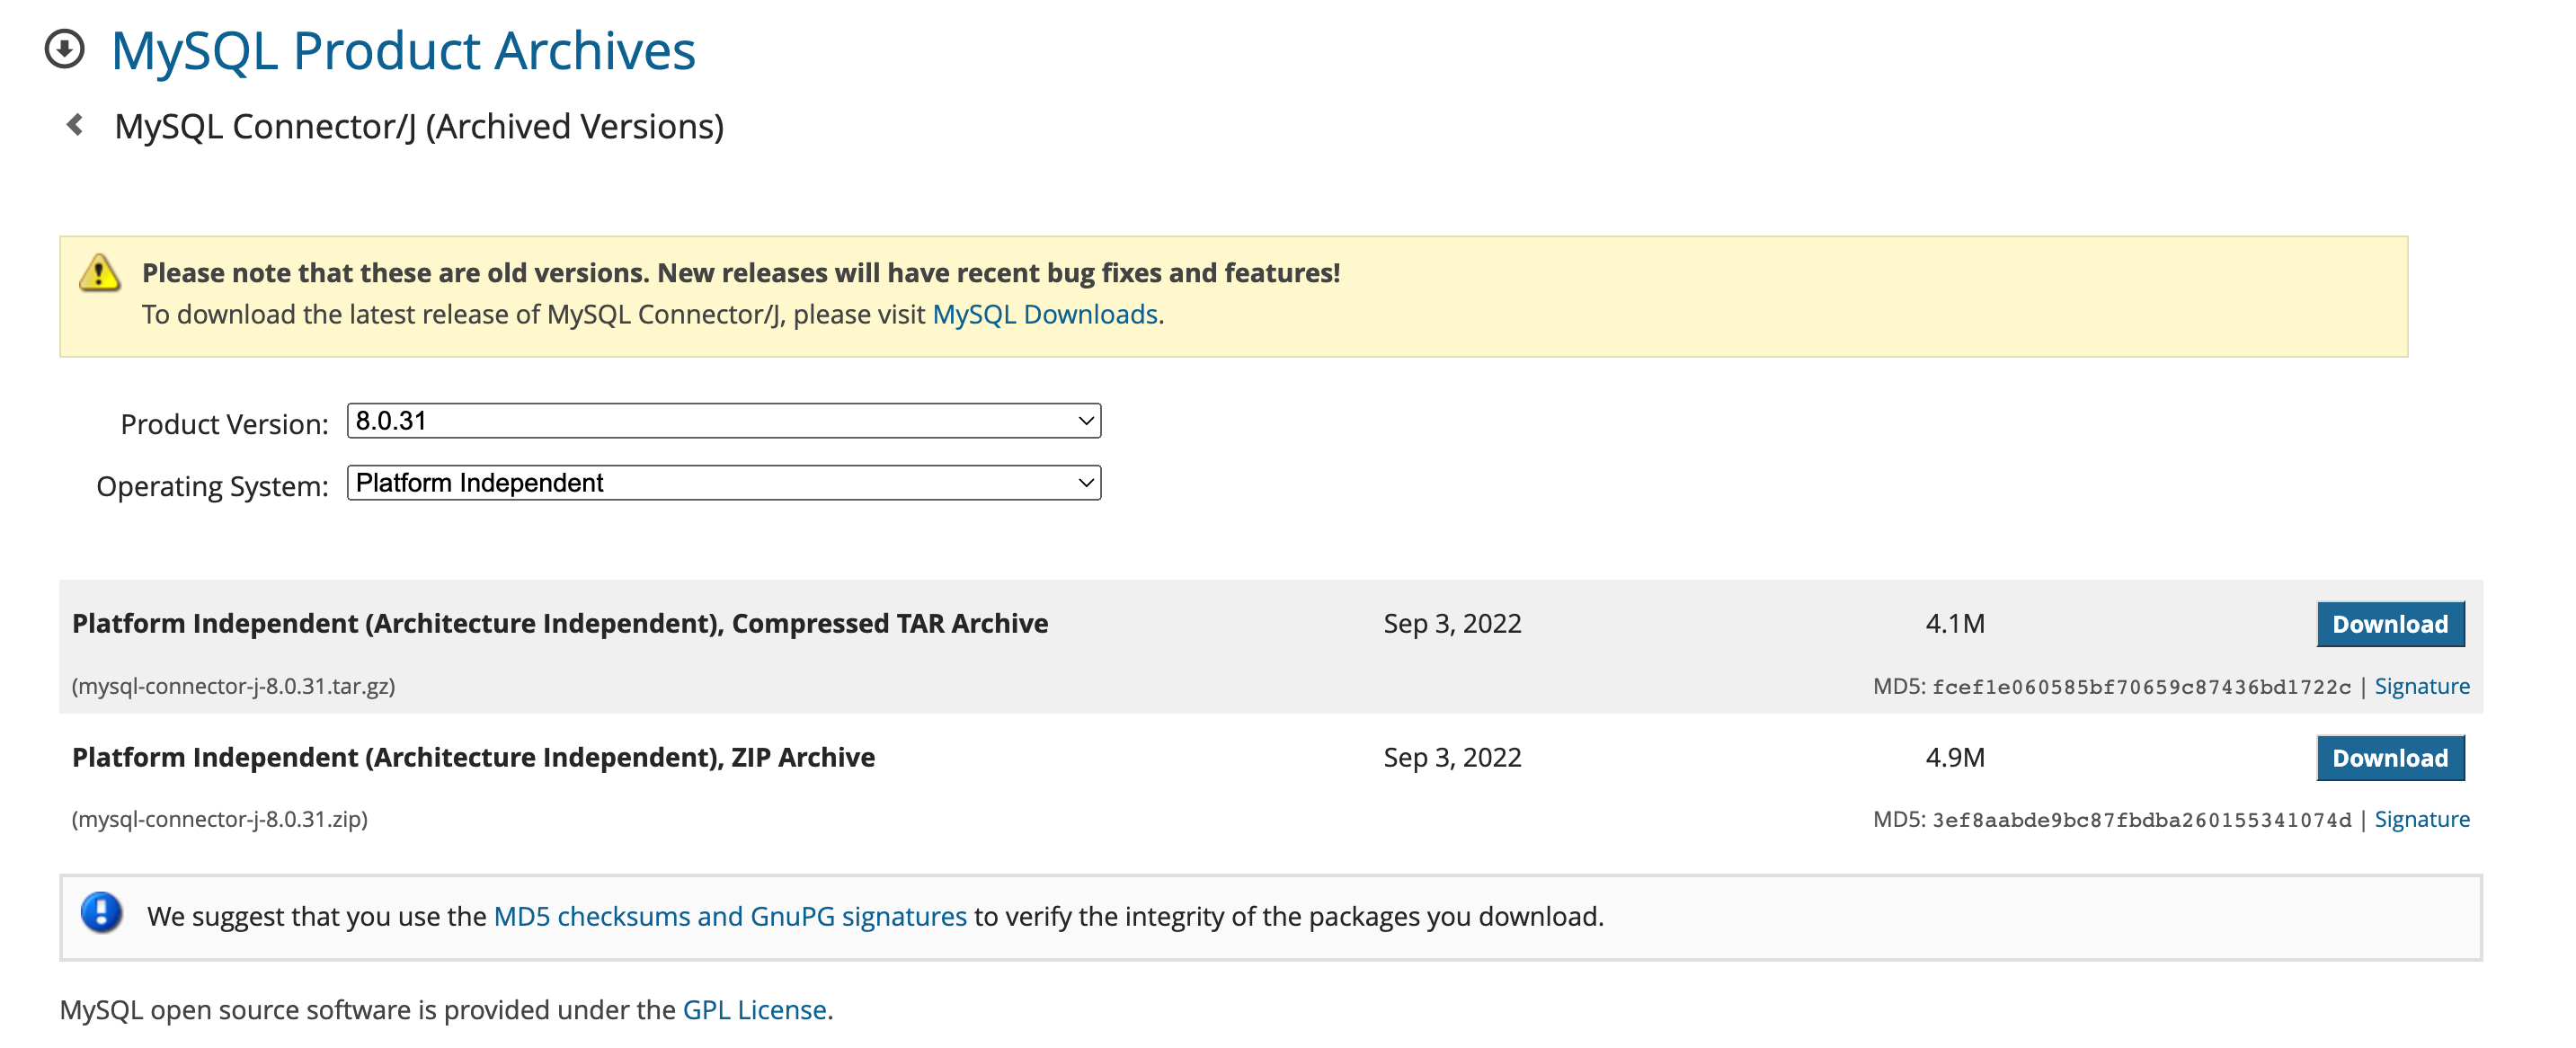
- 从 https://downloads.mysql.com/archives/c-j/ 下载
MySQL Driver,解压后得到mysql-connector-j-8.0.31.jar。此处根据自身需要,下载对应的数据库连接驱动。
vim Dockerfile编写Dockerfile。
1 | |
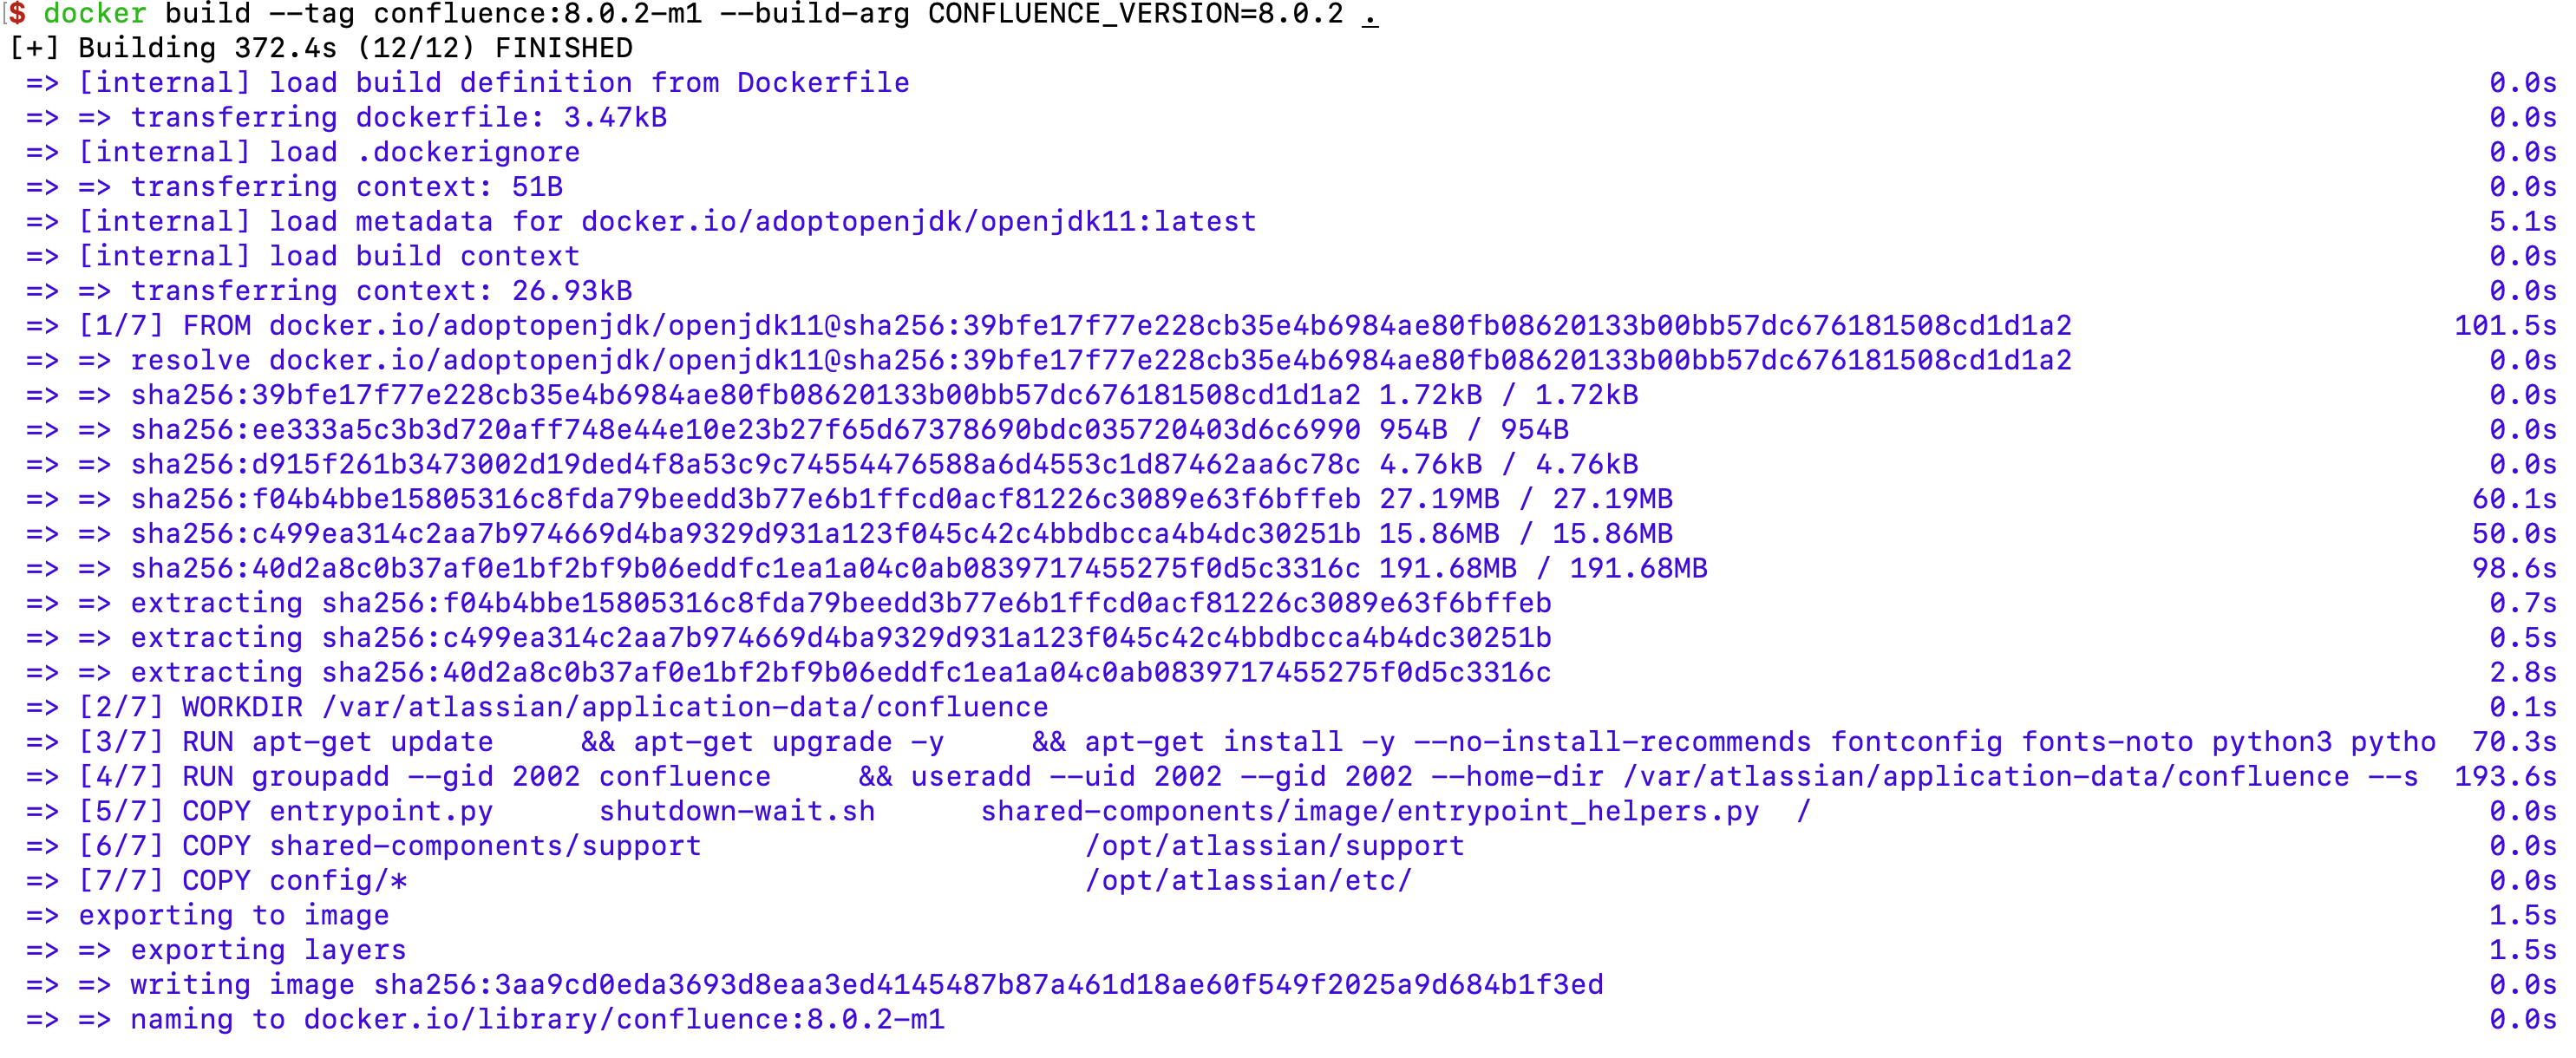
- 构建
1 | |
- 使用
docker images查看已经构建完成的镜像
1 | |
四、启动容器
- 创建自定义的
docker网络
1 | |
- 指定
network为customnet,指定IP为172.31.7.91运行容器
1 | |
- 查看已经启动成功的容器
1 | |
五、安装 Confluence
- 浏览器访问 http://127.0.0.1:8090/
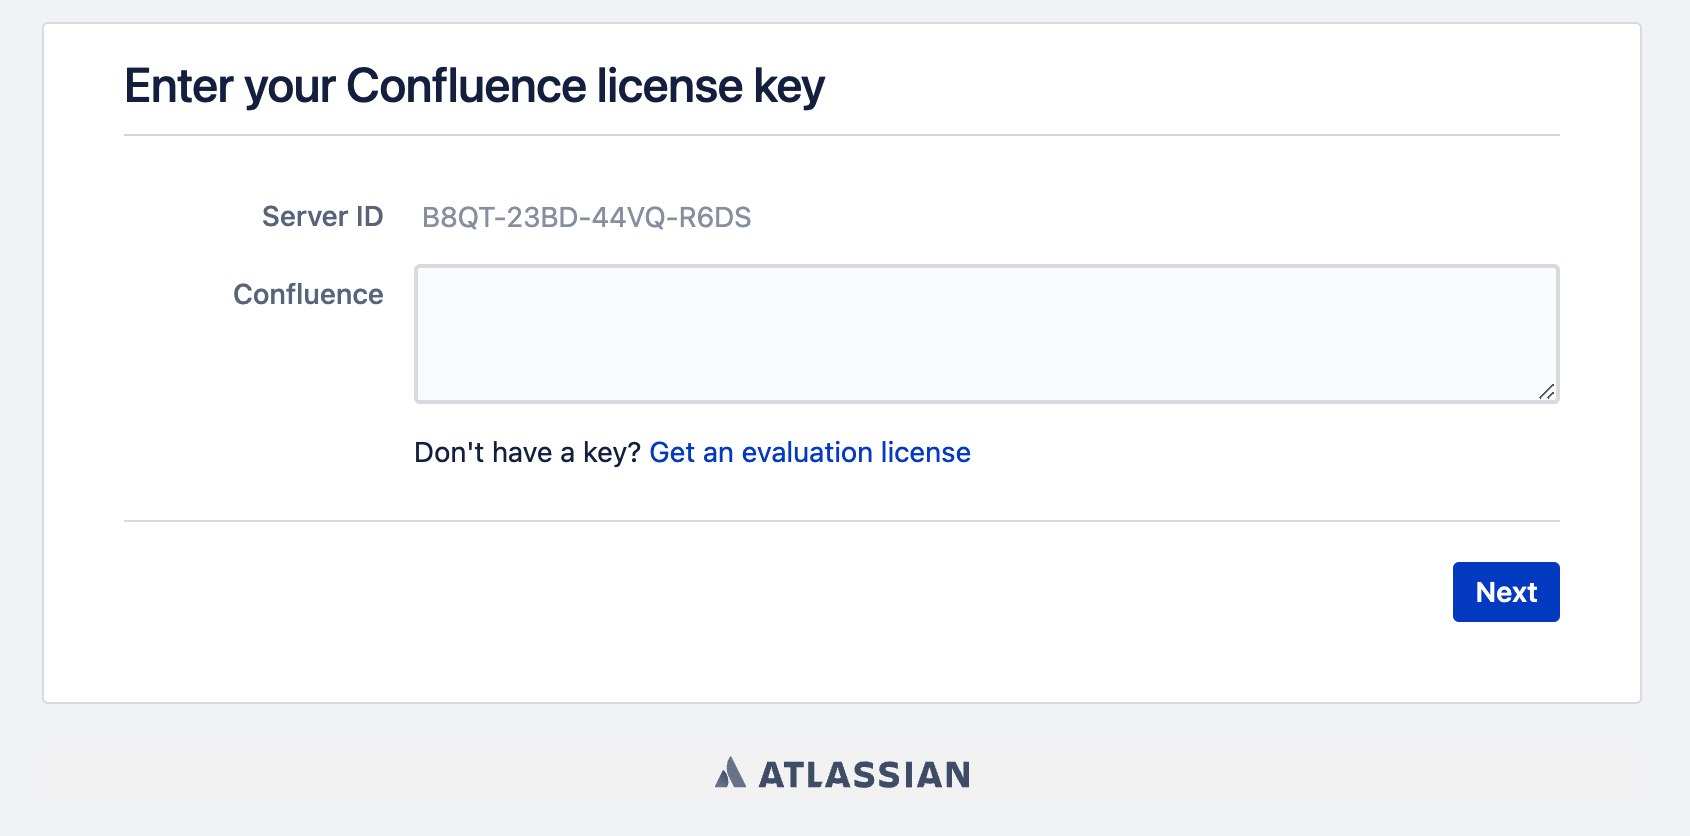
- 获取 Confluence 安装密钥
1 | |
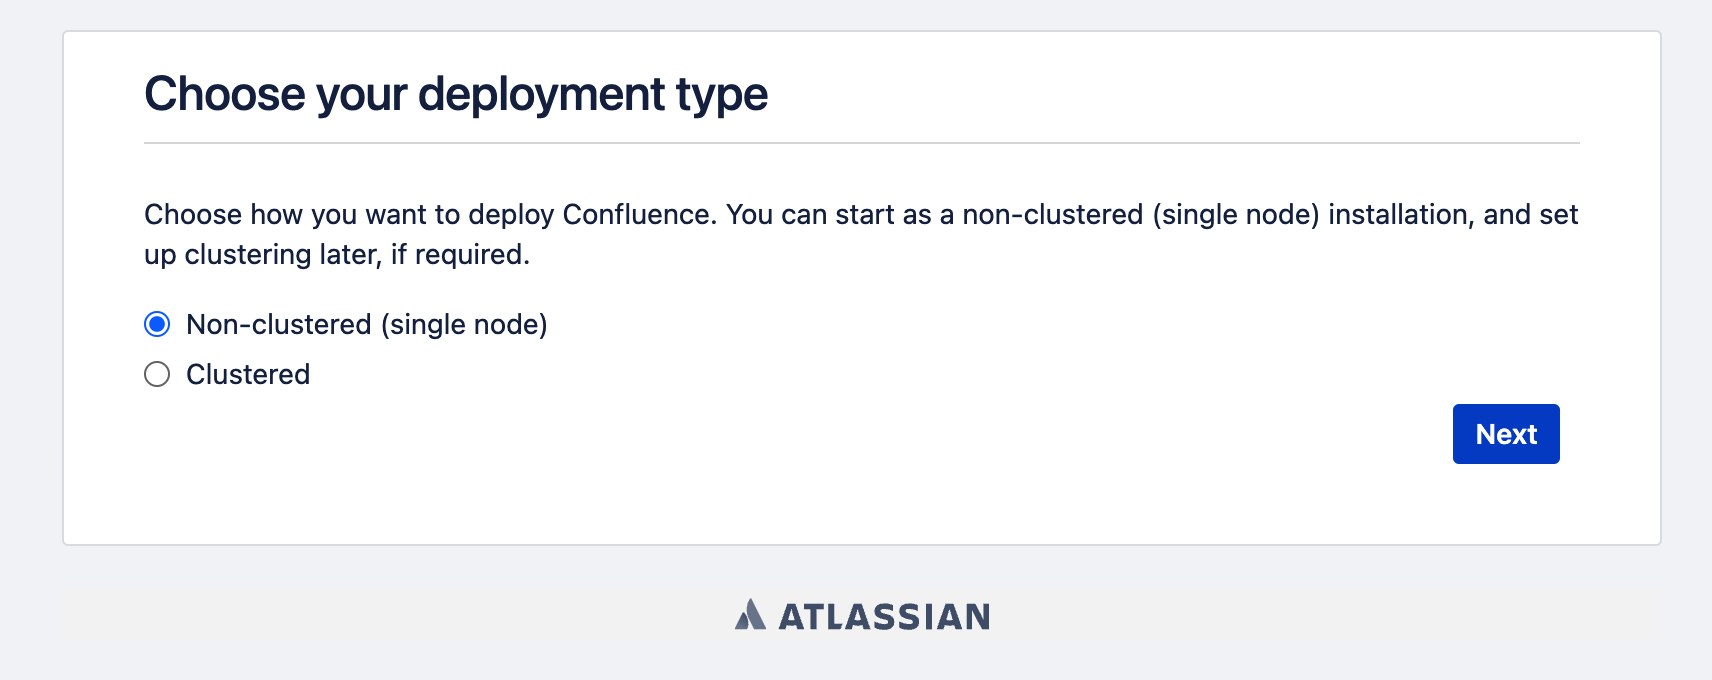
- 按需选择部署方式,这里选择
single node类型
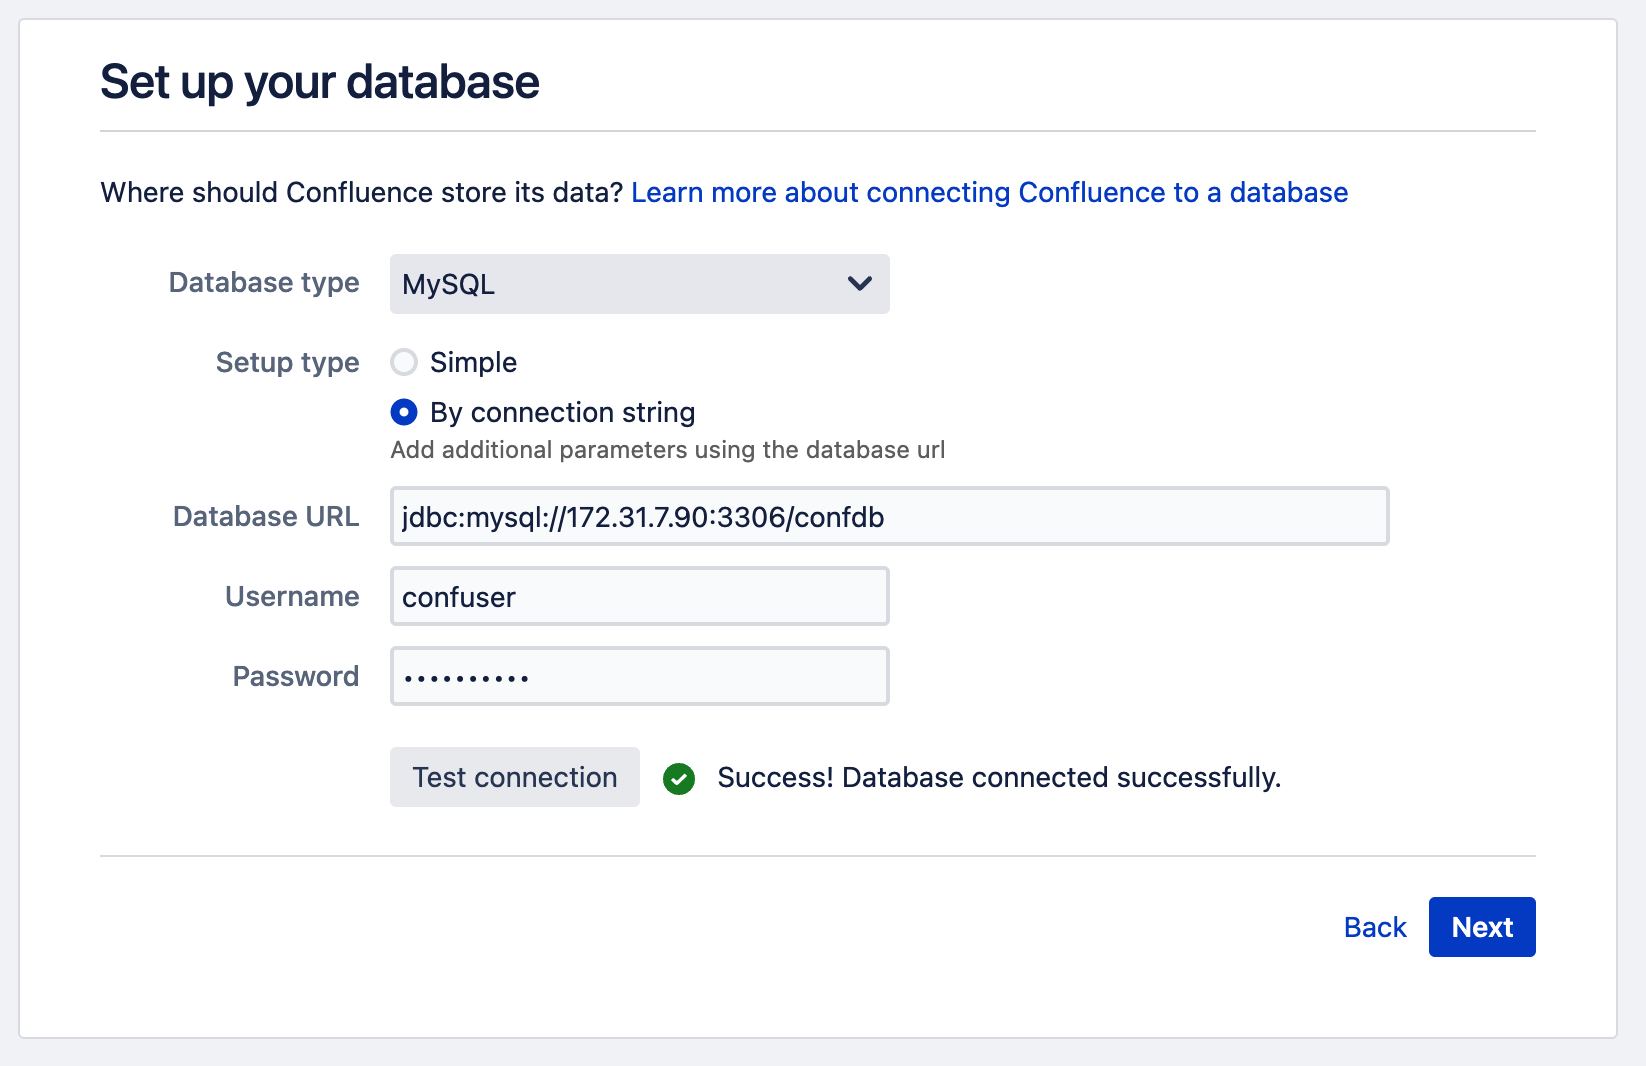
- 设置
MySQL数据库,数据库的 IP 使用之前自定义 docker 容器的 IP。
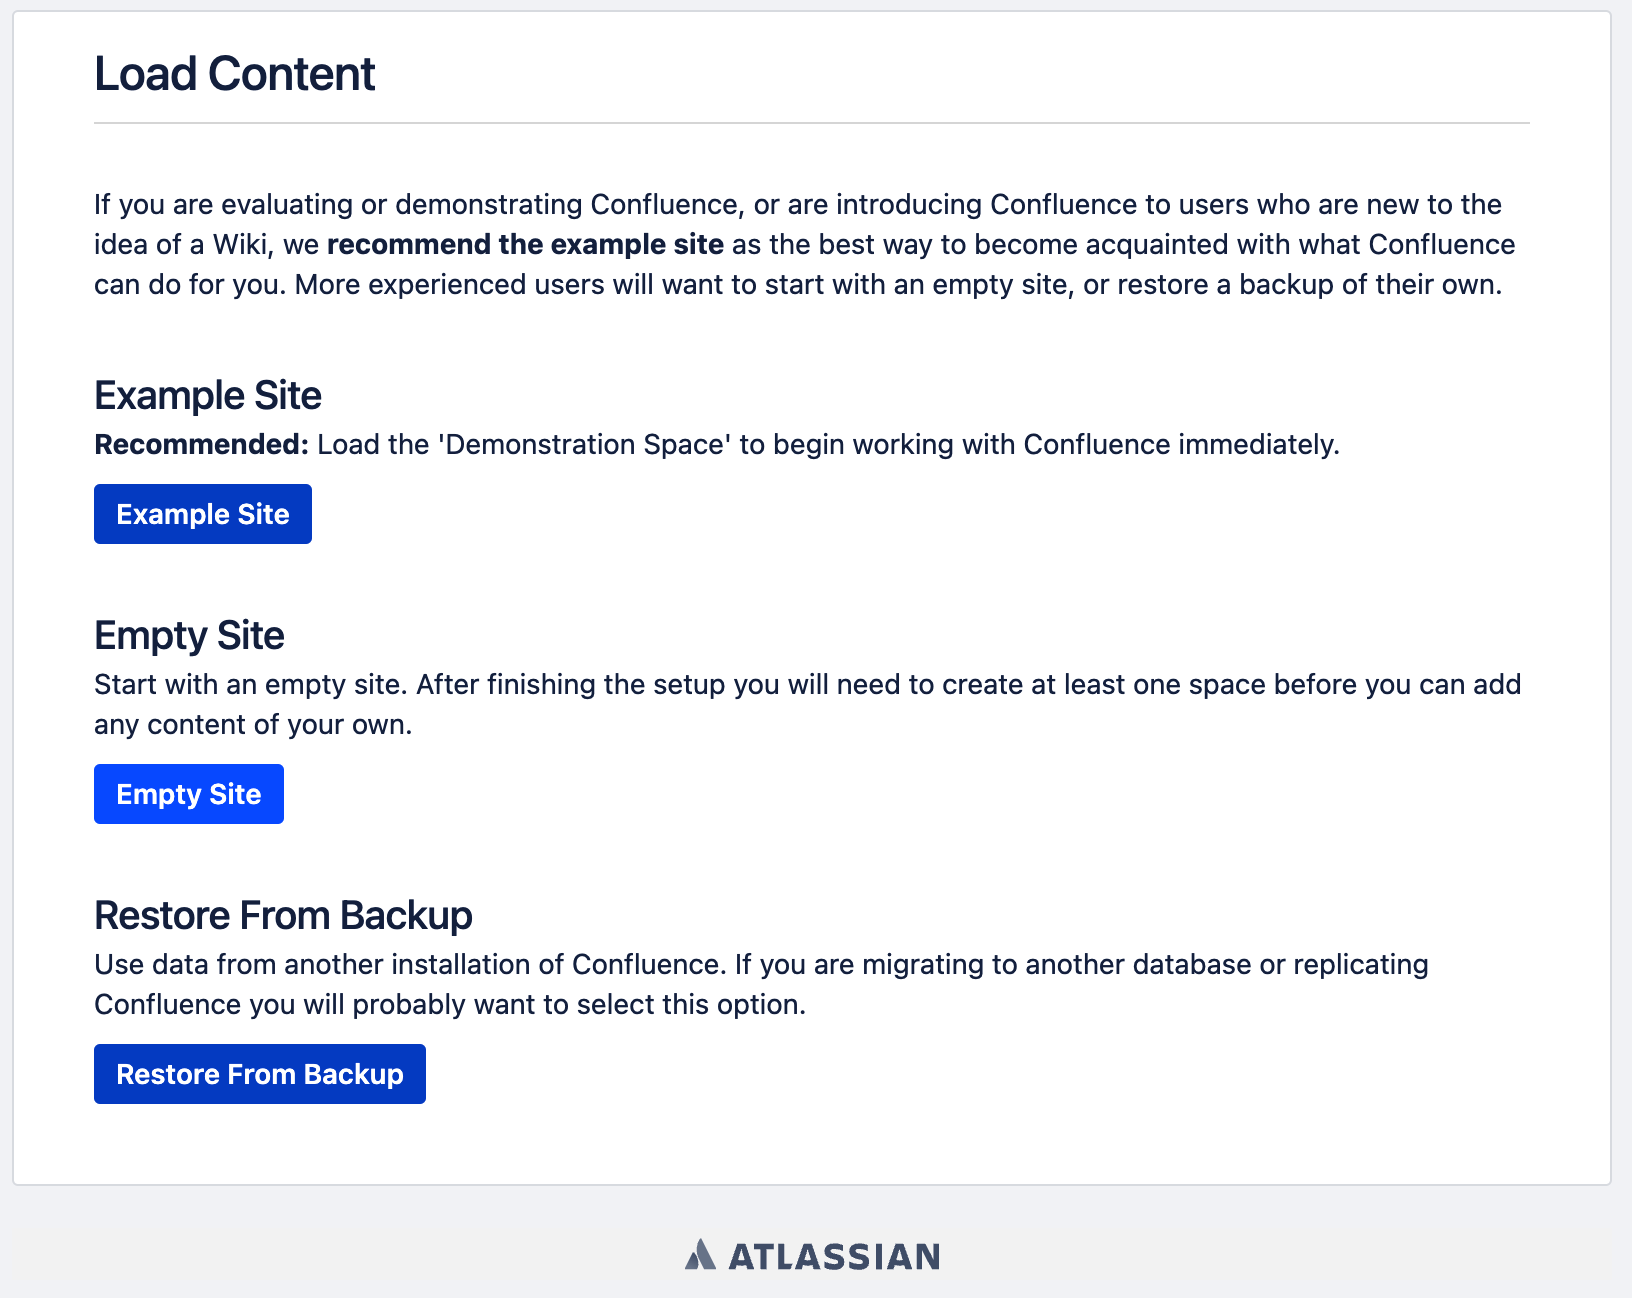
- 稍等一会之后,来到这个界面,可以选择
Empty Site。
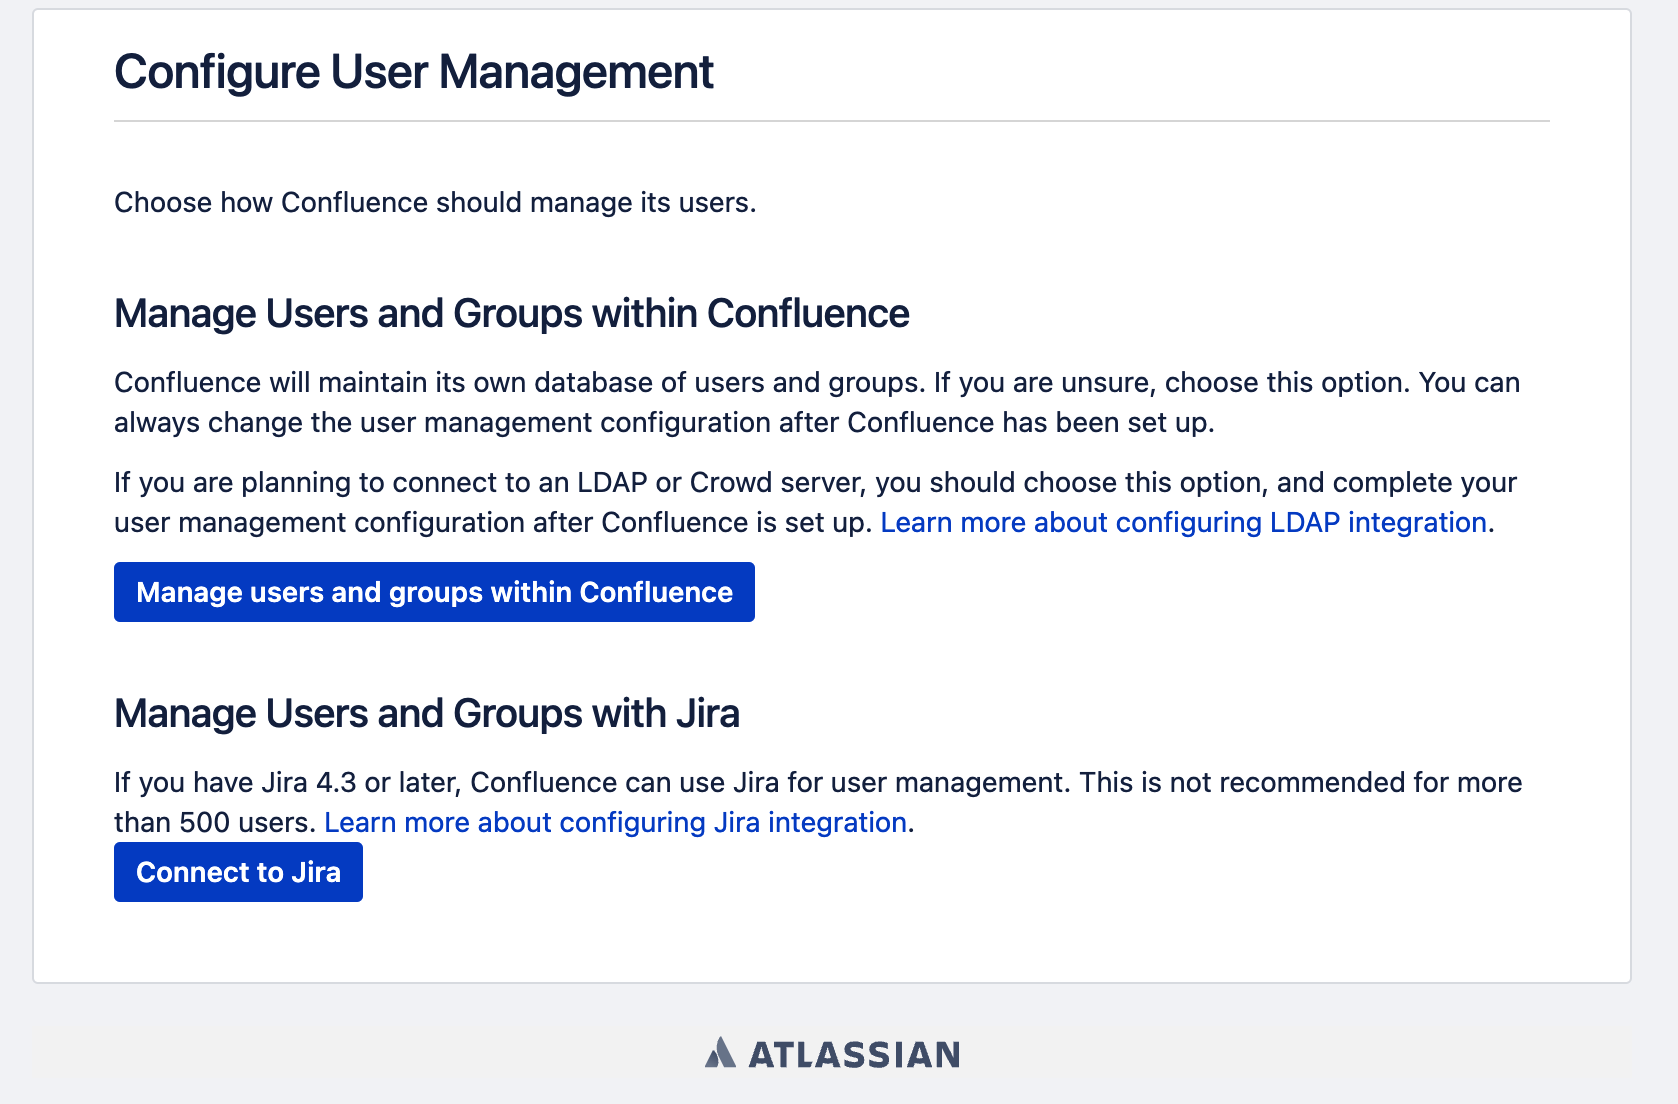
- 按照提示设置用户名和组即可。
参考文章
https://bitbucket.org/atlassian-docker/docker-atlassian-confluence-server/src/master/
https://hub.docker.com/r/atlassian/confluence/tags?page=1&name=m69